Tapes & Sealants
Butyl Sealant Tape Metal Roofing Guide
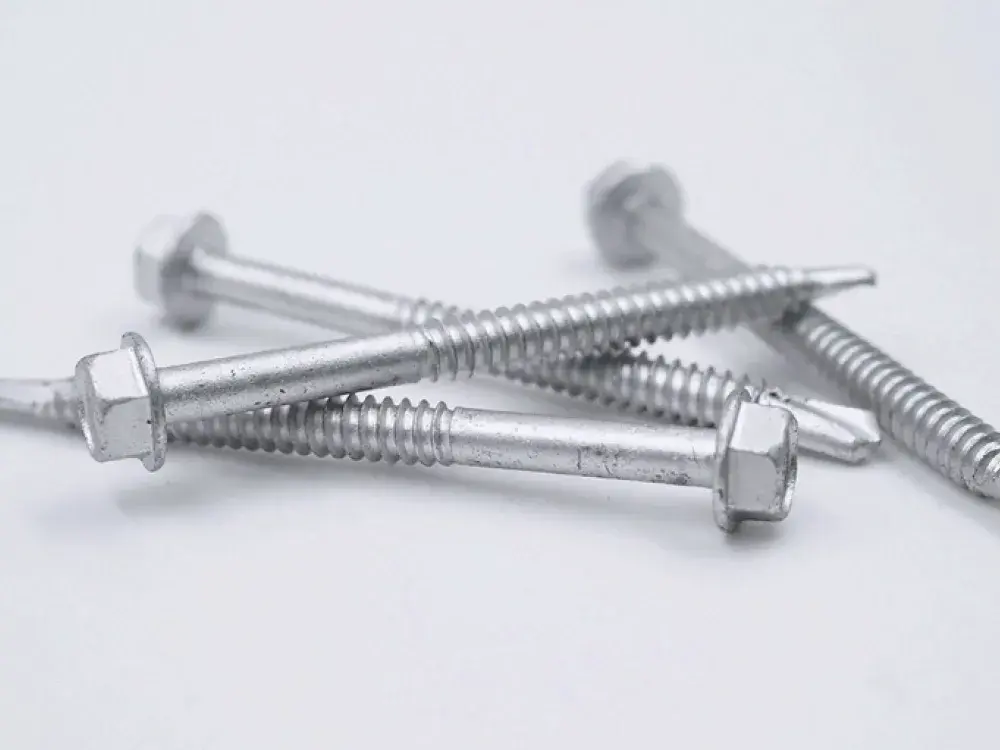
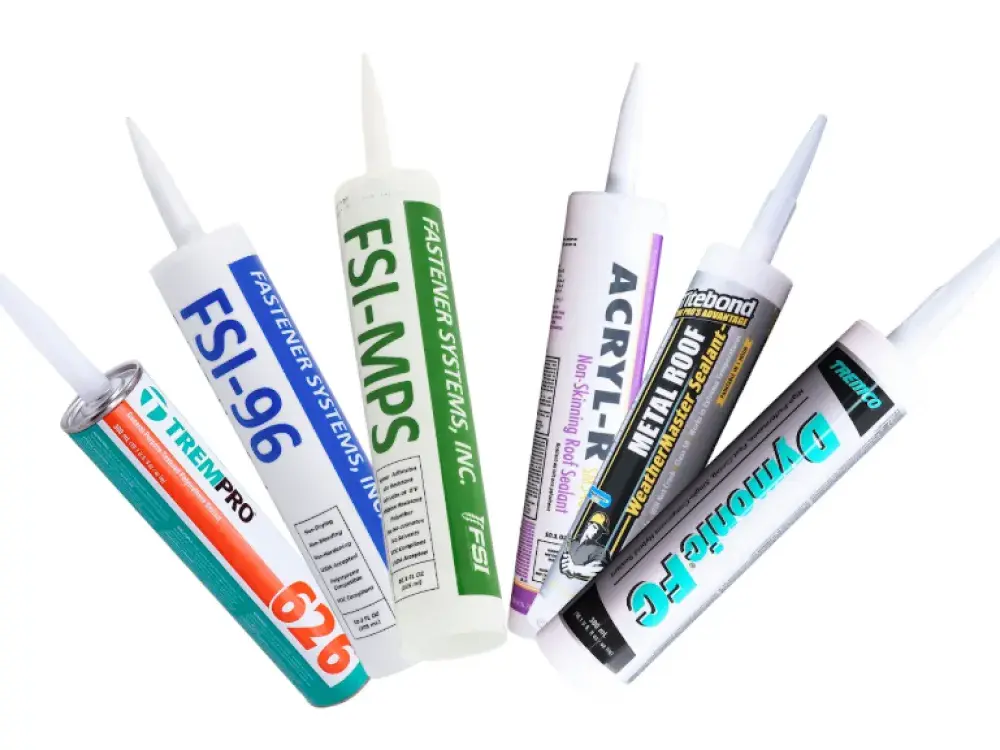
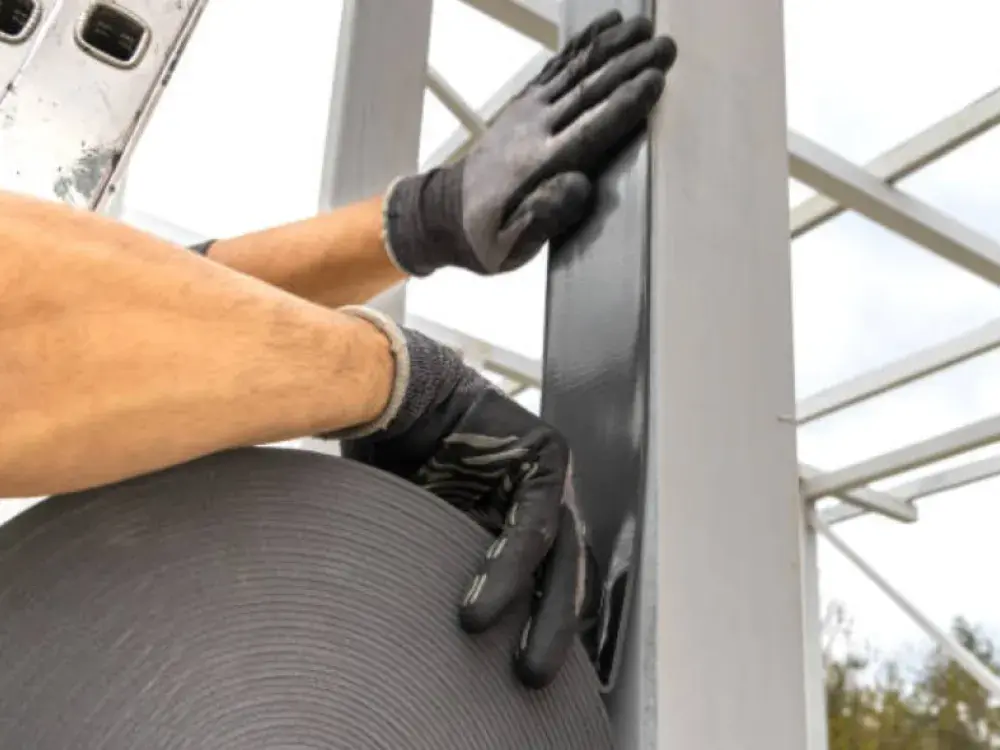
Water intrusion remains a persistent threat in metal roof assemblies. Crews need sealing methods that perform under pressure, resist seasonal shifts, and integrate with exposed fastener patterns. One of the most widely used sealing materials for metal roofing is butyl sealant tape, known for its fast adhesion and long-term flexibility.