Understanding how to use concrete drop-in anchors can make your home projects more professional, stable, and long-lasting. If you've ever had trouble with wall fixtures staying put or outdoor installations wobbling, these anchors could be the solution you need.
In this guide, you'll discover how using the right anchors can prevent common frustrations and rework to save you time and money on your home improvement tasks. No more guesswork—just solid, reliable results. Keep reading to find out how simple, yet essential, using concrete drop-in anchors is for your next home project.
What Are Drop-in Anchors?
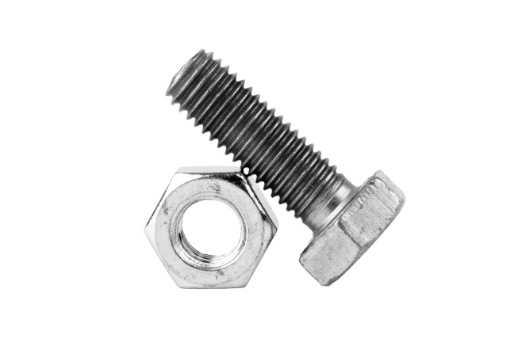
Concrete drop-in anchors are specialized fasteners that establish strong holding points in, or on, concrete surfaces. They are internally threaded components that are pivotal in construction and home projects that provide secure points for bolts or threaded rods.
Composition of Drop-in Anchors
Drop-in anchors are typically made from stainless steel or zinc-plated steel, materials known for their exceptional strength, corrosion resistance, and durability.
Dimensions of Drop-in Anchors
Drop-in anchors come in various sizes to suit different project requirements. Their dimensions typically span from ¼-inch to ¾-inch in diameter, with lengths ranging from 1-inch to 3-inches. These variations in size enable the drop-in anchors to provide secure fastening solutions across an array of construction and home improvement applications.
The Different Types of Concrete Drop-In Anchors
Different concrete anchors serve various purposes, each suitable for specific scenarios. Knowing the different types will be beneficial in selecting the most appropriate anchor for your project.
- Wedge and Sleeve Anchors: For tasks that require a strong hold
- Large Concrete Anchors: Used where high-load support is necessary
- Lag Shields and Plastic Anchors: Suitable for moderate-use applications
- Toggle Bolts: Useful for hollow spaces behind solid surfaces
8 Concrete Drop-in Anchor Applications
Drop-in anchors are versatile, and are used in various structural and decorative contexts:
1. Mount Shelving and Cabinets
They provide the necessary support for heavy items on walls, such as shelving units, wall-mounted cabinets, and bookcases, so that they stay securely in place.
2. Secure Handrails or Grab Bars
Drop-in anchors are commonly used to attach handrails or grab bars in areas like stairways, bathrooms, or outdoor steps to help ensure stability and safety.
3. Install Wall-Mounted TVs
For heavy flat-screen TVs, anchors can provide a secure mount to hold the weight and minimize the risk of the TV pulling free from the wall.
4. Hang Outdoor Fixtures
They're used to securely hang or mount outdoor fixtures such as lighting, signs, or decorative elements on exterior concrete walls or posts.
5. Attach Structural Supports
This includes the installation of supports for carports, pergolas, or decking, where a strong anchor is required to maintain structural integrity.
6. Secure Heavy Appliances and Furniture
To prevent tipping, heavy items like free-standing shelves, workbenches, or home gym equipment can be anchored to the concrete floor in garages or basements.
7. Install Garage Door Openers
Drop-in anchors are used to securely attach the bracketry of garage door openers to the concrete ceiling of garages.
8. Mount Electrical and Plumbing Fixtures
This includes securing conduit straps, junction boxes, and plumbing fixtures in utility areas.
Pre-Installation Considerations

Before starting a home improvement project involving the installation of concrete drop-in anchors, you need to check a few things:
Concrete Condition
Make sure the concrete is solid and without cracks. It should be older than 30 days because fresh concrete might not hold the anchor well.
Anchor Size and Load
Pick the right anchor size for the job. Think about what you're attaching and how heavy it is. The anchor needs to be strong enough to hold it.
Depth and Edge Distance
Don't drill too close to the edge of the concrete; it could break. There should be enough room around the hole, and it needs to be deep enough for the anchor.
Anchor Material
If you're working somewhere with moisture (like a basement) or outside, use anchors that won't rust, such as stainless steel.
Clear the Area
Make sure pipes and wires aren't in the way where you're going to drill. You don't want to accidentally hit them.
Selecting Appropriate Equipment and Anchor Materials
The right tools and anchors are essential for a successful installation. Necessary tools include:
Drill
A hammer drill is typically used when drilling into concrete. It pounds the drill bit in and out while it is spinning, which pulverizes the concrete more effectively than a standard drill. It's essential to wear proper safety equipment, such as goggles and gloves, and to start the drill at a low speed to prevent the bit from wandering or breaking.
Drill Bits
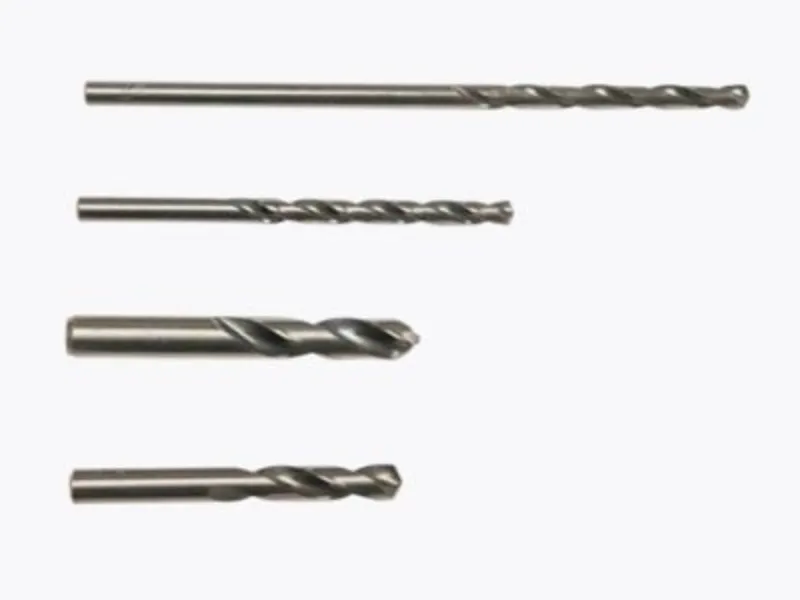
For drilling into concrete, masonry drill bits are the go-to choice, characterized by their robust tungsten carbide tip and spiral design that facilitates the removal of drilling dust. SDS (Slotted Drive System) drill bits can also be used with a hammer drill to provide the impact necessary for penetrating dense, hard surfaces such as concrete.
Hammer
To ease anchor insertion.
Setting Tool
This is a critical piece of equipment used during the installation of drop-in anchors. It is designed to expand the anchor within the concrete to ensure a secure and proper fit. The tool is inserted into the anchor and struck with a hammer. This action forces the anchor to expand and grip the sides of the hole tightly, which creates a firm hold within the concrete. Always remember to use the correct size of the setting tool that corresponds to the diameter of your anchor in order to ensure an effective installation.
Properly Sized Anchor
The key to a successful installation is choosing an anchor of the appropriate size. This includes considering both the diameter and length of the anchor, relative to the thickness and type of material being anchored. A properly sized anchor will ensure a secure hold that allows the attached fixture to bear the expected load without causing damage to the concrete, or the fixture itself.
Prioritizing Safety During Concrete Anchor Installation
The gear listed below will help to speed up installation and increase safety:
Safety Gear
Safety Glasses: Safety glasses are essential to protect your eyes from flying debris while drilling into concrete.
Hearing Protection: Drilling can be a noisy process, so it's crucial to protect your ears with appropriate earplugs or earmuffs.
Dust Mask: Wearing a mask can prevent you from inhaling the dust created during the drilling process.
Work Gloves: Thick, protective gloves can help to protect your hands from the vibration of the drill and prevent injury from sharp edges or hot surfaces.
Safety Boots:Safety boots will help protect your feet in case a heavy object is accidentally dropped.
Hard Hat: If you're working in an area where there's a chance of objects falling or bumping your head, it's important to wear a hard hat for your safety.
Step-by-Step Anchor Installation Instructions
There are different installation instructions for the different types of concrete anchors. The following are general guidelines. It is always best to follow the manufacturer’s instructions for proper use.
- Mark the Position: Identify the exact location where the drop-in anchor will be installed on the concrete surface.
- Drill the Hole: Using a hammer drill with the appropriate masonry bit, create a hole in the concrete at the marked position. The drilled hole should match the length and diameter of the anchor.
- Clean the Hole: Remove any debris or dust from the hole using a brush or vacuum. Proper cleaning ensures a tight fit for the anchor.
- Insert the Anchor: Place the anchor into the hole with the threaded part sticking upwards. Make sure the top of the anchor aligns with the surface of the concrete.
- Set the Anchor: Use a setting tool to secure the anchor. The setting tool is driven into the anchor to expand it against the sides of the hole.
- Inspect the Anchor: Confirm that the anchor is secure and flush with the concrete surface. The anchor should not move when force is applied.
- Prepare the Fixture: Align the fixture with the anchor before inserting the bolt or threaded rod.
- Insert the Bolt or Threaded Rod: Place the bolt or threaded rod into the anchor and ensure that it fits snugly.
- Tighten the Bolt or Rod: Using a wrench, tighten the bolt or rod into the anchor until it is secure.
- Final Inspection: Verify the fixture is stable and securely attached to the concrete surface. Correct any issues if necessary.
Order Your Concrete Anchors from Fastener Systems Inc.
Fastener Systems Inc. is your go-to source for reliable concrete drop-in anchors that provide the sturdy support you need. Don't compromise on the stability of your installations—choose our trusted anchors for a job well done.
Contact us today for more information on all of our products!